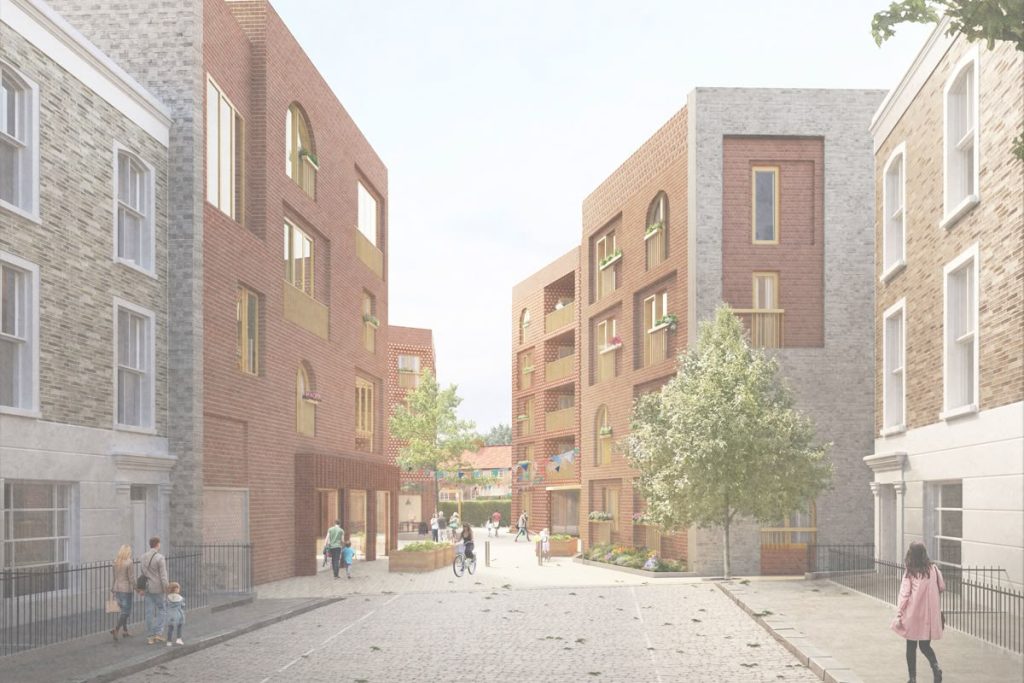
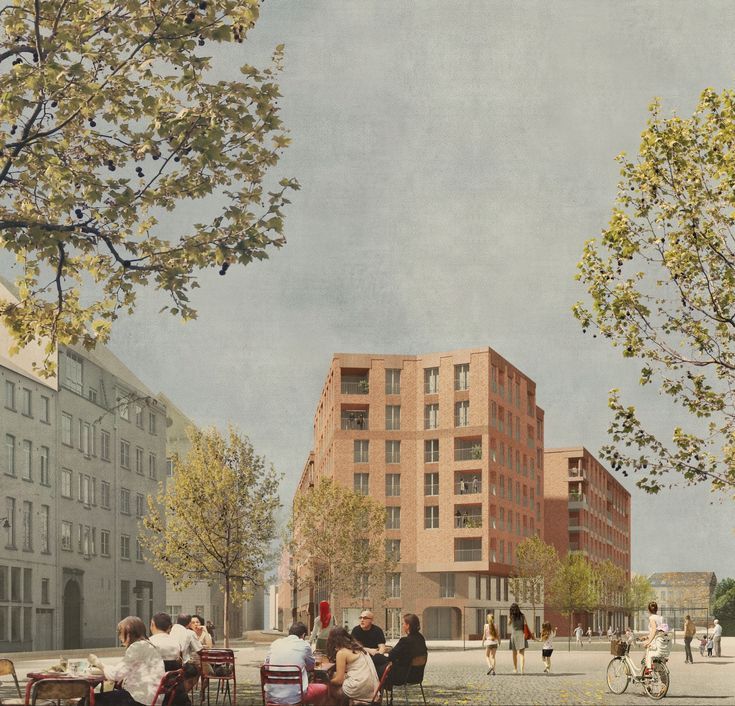
You’ve probably created a render that looked technically solid—clean materials, accurate lighting, sharp geometry—but something still felt off.
The scene might look too perfect. Too empty. Almost lifeless.
That missing layer is usually context and human detail. And that’s exactly where free PNG cutouts for architectural renders make a difference.
Used properly, they transform a flat visualization into something that feels believable and lived-in.
Why Architectural Renders Often Look Unrealistic
Even well-executed renders can fall short visually.
Common issues include:
- Scenes that feel too clean or staged
- Lack of human presence or activity
- Vegetation that looks repetitive or artificial
- No imperfections or variation
Rendering software handles geometry and lighting well, but realism comes from imperfection and context.
That’s why designers rely on curated assets like free architectural cutouts to add life back into their scenes.
What PNG Cutouts Are and Why They Matter in Rendering
PNG cutouts are images with transparent backgrounds—typically people, trees, or objects—that you can place directly into a render.
They’re not just decorative. They serve critical roles:
- Define scale – A person instantly grounds proportions
- Add narrative – Activity makes a space feel intentional
- Break visual uniformity – Real-world texture contrasts with digital perfection
For example, placing assets from a fashionable people cutout pack can turn a static scene into something that feels active and contemporary.
Where to Find High-Quality Free PNG Cutouts

Quality matters more than quantity here.
Poor cutouts—low resolution, bad edges, inconsistent lighting—will immediately stand out.
Look for:
- High-resolution images
- Clean, well-cut edges
- Natural lighting and shadows
- Realistic poses and variety
A reliable place to start is this curated collection of free architectural cutouts, which organizes assets by category and use case.
For exterior scenes, strong vegetation assets are essential:
These provide far more control and consistency than generic or auto-generated greenery.
How to Choose the Right PNG Cutouts for Your Scene
Not every cutout fits every render. Selection is where realism is either built—or broken.
Matching Perspective and Camera Angle
Your cutout should match your render’s camera position.
If your view is eye-level, avoid top-down or low-angle figures. Even slight mismatches feel unnatural.
Consistent Lighting and Shadows
Lighting direction needs to align.
If your render has sunlight from the right, your cutout should reflect that—or be adjusted to match.
This is especially important with vegetation. When using assets from a realistic trees pack, make sure highlights and shadows are consistent across the scene.
Scale and Context Accuracy
Scale errors are subtle but damaging.
A person that’s slightly too large or small will disrupt the entire image.
Use architectural elements—doors, railings, furniture—as reference points.
For site-based visuals, assets from a construction workers pack help reinforce realism when scaled correctly within the environment.
Step-by-Step: Adding PNG Cutouts to Architectural Renders
Here’s a simple, reliable workflow:
Importing into Photoshop or Rendering Software
Drag your cutout into the scene and convert it to a smart object to preserve quality.
Start with assets from your core library of free architectural cutouts so everything remains visually consistent.
Adjusting Color, Contrast, and Exposure
Cutouts rarely match perfectly out of the box.
Adjust:
- Brightness and contrast
- Color balance
- Temperature
Your goal is to match the scene—not the original photo.
Adding Shadows and Grounding Elements
Without shadows, your cutout will look like it’s floating.
A simple method:
- Duplicate the cutout
- Fill it with black
- Apply blur
- Lower opacity
This small step dramatically improves integration.
Advanced Techniques to Make Cutouts Look Native to the Scene
Once the basics are handled, these techniques push realism further.
Depth of Field and Blur Effects
Objects further from the camera should be slightly out of focus.
Apply subtle blur to background elements to match your scene’s depth.
Color Grading for Scene Consistency
Apply a global color grade across the entire image.
This ties everything together and removes the “pasted-in” look.
Using Noise and Grain for Cohesion
Perfect renders don’t exist in real life.
Adding a light layer of grain across the image helps blend cutouts seamlessly into the environment.
Common Mistakes When Using PNG Cutouts in Renders
Even high-quality assets can fail if used poorly.
Watch for:
- Floating figures (no shadows)
- Mismatched lighting directions
- Overcrowded scenes
- Inconsistent styles
- Incorrect scaling
One common issue is mixing asset quality. Sticking to a consistent source like this free architectural cutouts library keeps everything cohesive.
Make Your Renders Feel Real, Not Staged
Rendering tools can produce clean, accurate visuals—but realism comes from detail.
That’s where free PNG cutouts for architectural renders become essential.
If you want your scenes to feel natural and believable, build your workflow around high-quality assets from Archtene’s free architectural cutouts and apply them with intention.
The difference shows immediately. Not just in quality—but in how people respond to your work.
Frequently Asked Questions
PNG cutouts are images with transparent backgrounds used to add people, trees, and objects into renders without manual masking.
Yes—if they’re high resolution and properly prepared. Libraries like Archtene’s provide assets suitable for both student and professional use.
Adjust brightness, contrast, and color temperature, then add shadows that align with your scene’s light direction.
Start with people and vegetation. Packs like fashionable people and realistic trees have the biggest impact on realism.
Recent Posts
Neoclassical Architecture Explained: Order, Symmetry, and Democratic Ideals
Abu Dhabi’s Architectural Identity: Key Buildings, Design Strategies & What Architects Can Learn
Gothic Architecture Explained: Structural Innovation, Light, and Verticality